|
|
|
|
|
|
|
|
Seymour Edge art class-lesson 2-page 2
|
|
|
|
|
 |
|
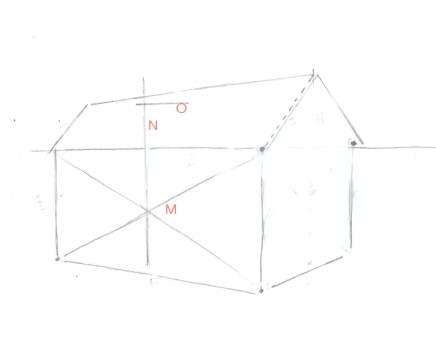
| Next, draw the same x type lines on the front of the house. Then run a center line N up toward the top. Look at the picture and see where roof line O goes. |
|
 |
|
|
|
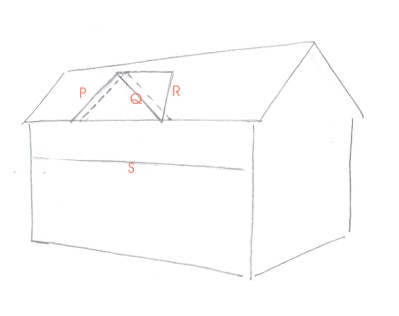
| Now, put in lines P, Q, and R. Again, move lines P and Q out a little to make an eve. Line S the top of the porch. Make sure it conforms to the other perspective angles of this wall. |
|
 |
|
|
|
| Next, draw in the dormers, T and U, then the porch, V. Make sure the porch sticks out far enough. |
|
 |
|
|
|
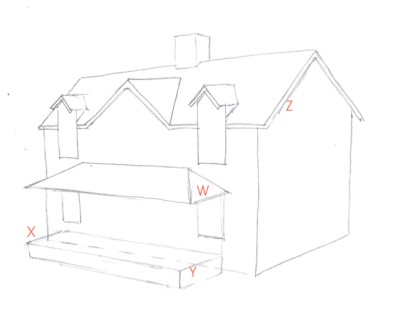
| Keep adding details. Notice how lines W, X, and Y all conform to the laws of perspective, they are a similar angle as the side of the house. Notice the facia board Z that goes around the house.
Notice too how in my drawing, the edge of the porch roof W doesn't quite align with the porch Y below it? This required some readjusting.
|
|
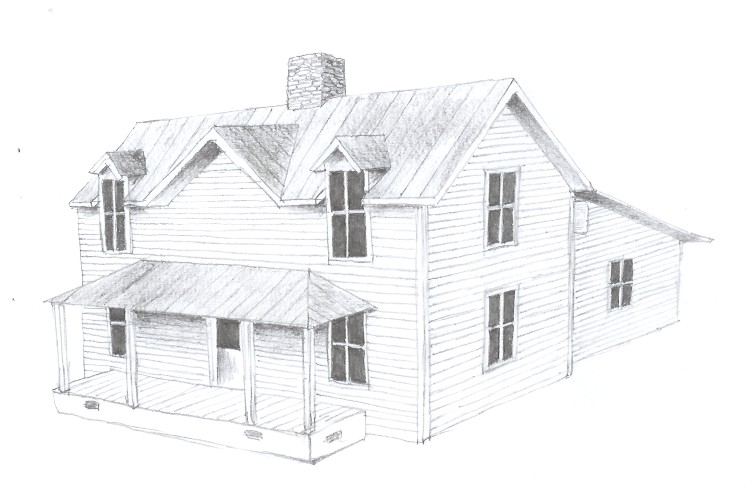 |
Here's my final drawing. It's a quick knock out, so that you can get an idea of how to start from scratch. If I wanted more realism, the first thing I would have done is detail around the windows.
Learn how to blend your shading from dark to light. This is very effective.
End of lesson!
|
|
|
|
|
|
|
|
|
|
|
|
|
|