When I drew it, I just looked at it on the monitor screen. Making a color copy is nice, that way you can tape it to your drawing board next to your blank page. The problem I had was in keeping a printer in working order, not to mention the cost of ink. Eventually I'll go color laser, but till then, I'm quite pleased with getting color copies at the Seymour library for 49c each. To save this picture to your hard drive, you should be able to right click on it. Also, when I go to the library, I like to make my presence welcome by paying more for the copy than the price they're asking. I tell them to keep the change from a $1 bill when making one copy, that sort of thing. Let's make them glad to work with homeschoolers.
Also, for the sake of having my lines show up in the scanner, I'll be making them a lot darker than I normally would. Yours should be just dark enough for you to see where they're at on the page.
This lesson and others will be put on more than one web page, for the benefit of those using a dial up modem.

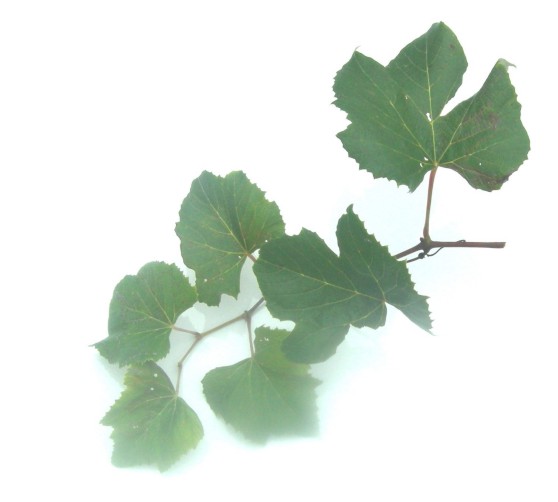
In my sketch, not all the stem sections are the same length. There is a term you need to learn, called "foreshorten". It refers to the way a thing looks different when tilted back or viewd from an angle. See the little rectangle off to the left of my sketch. If you pushed back at the top of it, and made it lean over, it would look like the rectangles below the top one. This could account for some of the stem sections being shorter.
Remember, light lines. I started at the right edge, figuring the stem was a little above the halfway point. This isn't a portrait of someone's face, so don't sweat it if you're not exact.
For the next step, find the link " Lesson 1 part B"